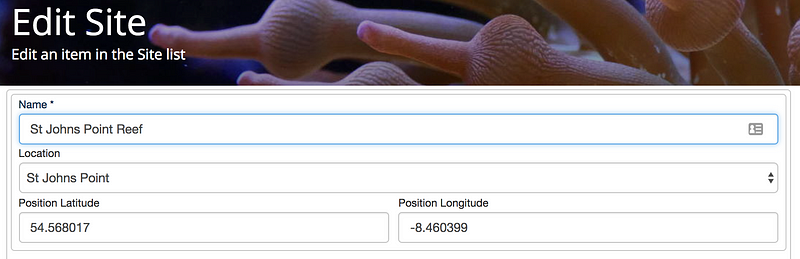
One of our test apps makes quite a lot of use of location data and up until now, it has always been quite clunky to edit this location data — the only way to do so being to enter the latitude and longitude as a co-ordinate pair. This is far from best practice on a usability front so it was time for something better.
Using Google Maps is a relatively straightforward matter of setting up a div on the page, adding the required Javascript library and then calling an API to create a map on that div.
var mapOptions = {
   zoom: zoom,
   center: {lat: latitude, lng: longitude},
   mapTypeControl: true
};

var map = new google.maps.Map(document.getElementById(id), mapOptions);
This will give us the basic required map and if synchronised properly with a navigator geolocation query, will draw the map at the current device position — subject to the usual constraints such as https and user permissions. The resulting presentation is a lot easier to use with familiar Google Map actions replacing the need to directly enter latitude and longitude.
var mapOptions = {
   zoom: zoom,
   center: {lat: latitude, lng: longitude},
   mapTypeControl: true
};

var map = new google.maps.Map(document.getElementById(id), mapOptions);
This will give us the basic required map and if synchronised properly with a navigator geolocation query, will draw the map at the current device position — subject to the usual constraints such as https and user permissions. The resulting presentation is a lot easier to use with familiar Google Map actions replacing the need to directly enter latitude and longitude

Storing the Position
Finally once the user is done with selecting her position, we need to capture the results in the form and post the new position back to the server for storage. We’ve achieved this by retaining the latitude and longitude inputs from the old version but hiding them. Whenever the map centre changes, we copy the new centre position into the inputs and these are seamlessly handled by the existing code to cope with the post back.
map.addListener('center_changed', function () {
   var center = map.getCenter();
   var latitude = center.lat();
   var longitude = center.lng();
   $("[name='" + id + "_latitude']").val(latitude);
   $("[name='" + id + "_longitude']").val(longitude);
});
Google Maps Setup
To use this functionality, you’ll need to obtain a Google Maps API key and enter this into your application settings. At this time, we are not using any APIs that incur a charge but Google have been making quite a lot of changes in this area so this may not remain the case.
Once set up with the Google Maps key, your app will be able to use other mapping features available in linkalist but you’ll need to careful about costs.
Using this Functionality
After you’ve done that you’ll need to set up an item view for the list where you want to edit positions. Make sure you name it and tick the “Use For Editing” checkbox. Now, all you need to do is to add the required field and select its purpose as “map”. You may optionally play around with the Map Zoom level to alter the display zoom of your map.